In 1972, Mark Van Stone had a fellowship grant to crawl around in libraries in England and Ireland (yes, I know, but he’s a fine fellow really). He had access to manuscripts that weren’t necessarily the pretty ones that go on display to the public, and he learned a valuable lesson, namely that there were lazy and sloppy scribes in the Middle Ages, and often they can teach us more than their tidy colleagues. Melinda Sherbring, known in the SCA as Eowyn Amberdrake, learned the technique Mark calls “Interlacing Without Erasing” and brought it to the SCA via an article in TI #53 which was eventually printed in the Knowne World Handbook. I heartily recommend picking up a copy, as well as any books by Mark Van Stone.
Seeing Spots Before Your Eyes
Mark noticed that the space between the ribbons in most Celtic knotwork is inked black or painted over (or carved out in woodworking pieces), which got him curious enough to look at some sloppier and/or unfinished work. What should he discover, but a small dot appearing at every “intersection” between ribbons! By working backward from white space, he discovered a method that produces perfect knotwork without losing your mind, though you will have to see spots before your eyes.
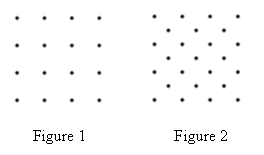
Start out by filling the space you eventually want to fill with knotwork with a regular grid of dots (figure 1), then place a dot in the center of each “square” between the dots, as though you were copying the design of five pips on a die (figure 2):
(Note: How densely you place the knots will dictate how wide your knotwork ribbon will be. )
You now have a box of “diamonds”; pick any diamond, preferably not on an edge, and draw two parallel lines either from lower left to upper right or vice versa (figure 3). This is the beginning of your ribbon. Now, working out from that first diamond, draw ribbon sections at right angles to your first section (figure 4). Fill the available space with ribbon pieces in every complete diamond, leaving the partial diamonds for the edges (figure 5). Now starting at one corner, close the ribbon with a loop. Once you close the first one, the “partner” for each successive raw edge should be obvious (figure 6).
Easy, huh? Also boring after you’ve done your 50th foot of knotwork. Happily, there is an almost equally simple method for varying the pattern.
Building Walls
Pick any two adjacent dots and draw a solid line; this is a “wall” that your knotwork may not cross. This means you’ll have to go around it in some fashion that will distinguish this section from every other section. Your method is the same; begin with a central block (figure 7), work outwards at right angles on both sides of the wall, but not across it (figure 8). Fill all complete diamonds that aren’t broken by the line (figure 9) and then loop the corners and edges that touch the wall (figure 10).
You can put in as many or as few walls as you like. I’ve actually put words and names into knotwork via walls, which since it’s going to end up as negative space (when blacked in) comes out as almost subliminal, bwa-ha-ha… Once you cover up the dots, you’ll have dizzying knotwork without a clue left how you managed it!
Filling Triangular Spaces
Okay, you say, that’s great for borders, but what about spaces that aren’t square or rectangular? For circular borders, the process is the same, though you will have to get used to working your dots around a curve. For curved or triangular solid spaces (which continued to be wildly popular place to use knotwork even late in period), the rules are still the same, but you have to think 45 degrees off.
Go back and look at figure 2, and tilt your head (or the paper!). You see a diamond shape, with dots forming a clear vertical line and odd-numbered rows of dots (in figure 2: 1, 3, 5, 7, 5, 3, and 1). You’re going to use this design for your triangle; simply end at your widest row (figure 11). Do NOT use the “bowling pin” layout for your dots or you will make a headache for yourself! Use the same technique with each complete square that we used for each complete diamond in the earlier patterns (figure 12 and 13).
Oops! We’ve gone to the edge and there’s no space to make connections! This is not a problem. You’ll just need to remember that your pattern will extend outside the dots at the base of your triangle (so plan accordingly when you place your dots!). Extend the loops around the dots at the base and complete as normal (figure 14, figure 15 with an additional row of dots).
Ta-da! Really, that’s all there is to it. Once you get comfortable you’ll see how the edge pieces can be incorporated into other parts of the illumination or turned into feet and heads for decorative beasties. But it will always start with dots.
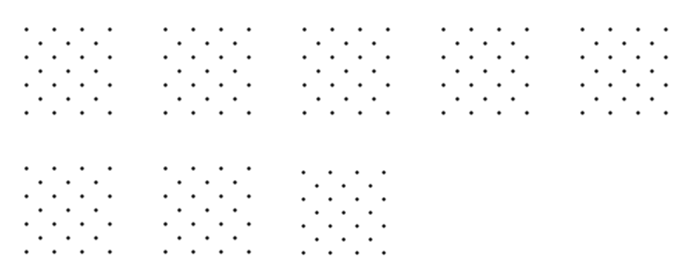
Here are some dots to start on. Happy plaiting!
Adelaide de Beaumont (Lisa Theriot)
lisatheriot@ravenboymusic.com
www.ravenboymusic.com/articles
Appendix: Knotwork is NOT just for Celtic scrolls!
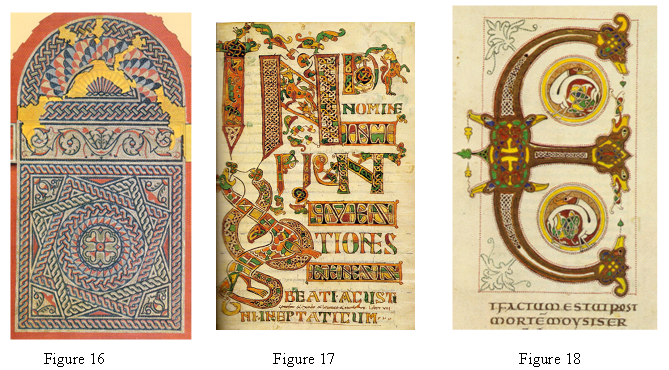
The Romans were huge fans of knotwork, and where they went, it went. Consider Figure 16, a mosaic, found in London, and now in the Museum of London. If this is what fashionable floors looked like, it’s no surprise that knotwork began turning up on insular scrolls.
Though the influence of the Roman Empire waned, the Roman Church continued to heavily influence medieval Europe. Knotwork turns up as a popular design motif for religious works well beyond the Book of Kells and other famous insular masterpieces. Figures 17 and 18 are from Northern France, from the last half of the 8th century, and about 50 years later, respectively.
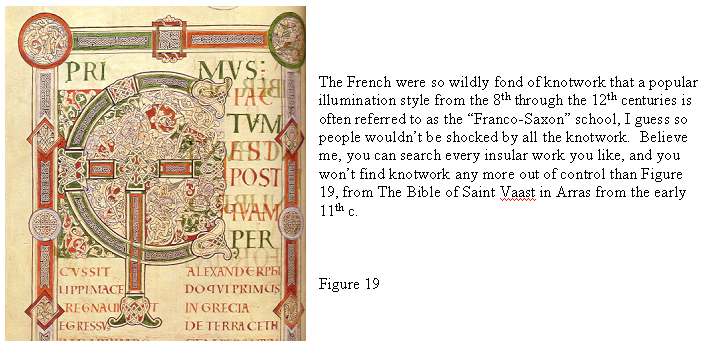
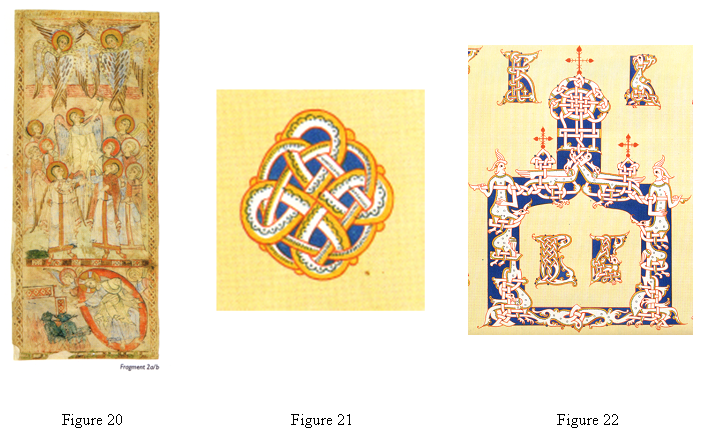
It’s actually hard to find a period or culture that didn’t use knotwork, and many continued to use it late in our period. Styles changed; in early illumination, knotwork was likely to be simple ribbon drawn in a very flat representation. If it was painted in multiple colors, it was more likely painted in sections rather than painted to pick out the path of a single ribbon in the plait. Later, ribbons were textured or naturalized to a greater and greater degree, and single ribbons might be picked out in a different color.
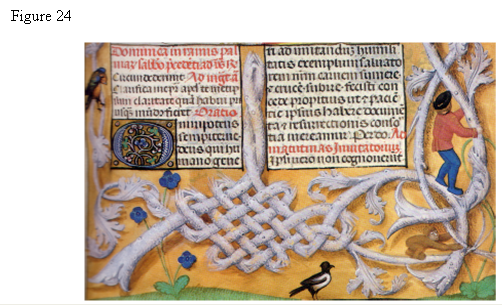
Figures 23, 24, and 25 are from the so-called Isabella Breviary presented to Queen Isabella of Castile ca. 1497. Notice three very different uses of knotwork, first as a filler, using the loose ends of the loops to create picture frames (figure 23); then as a very naturalistic piece of woven wicker (figure 24), then as a plait with individual threads picked out in contrasting colors (figure 25).
